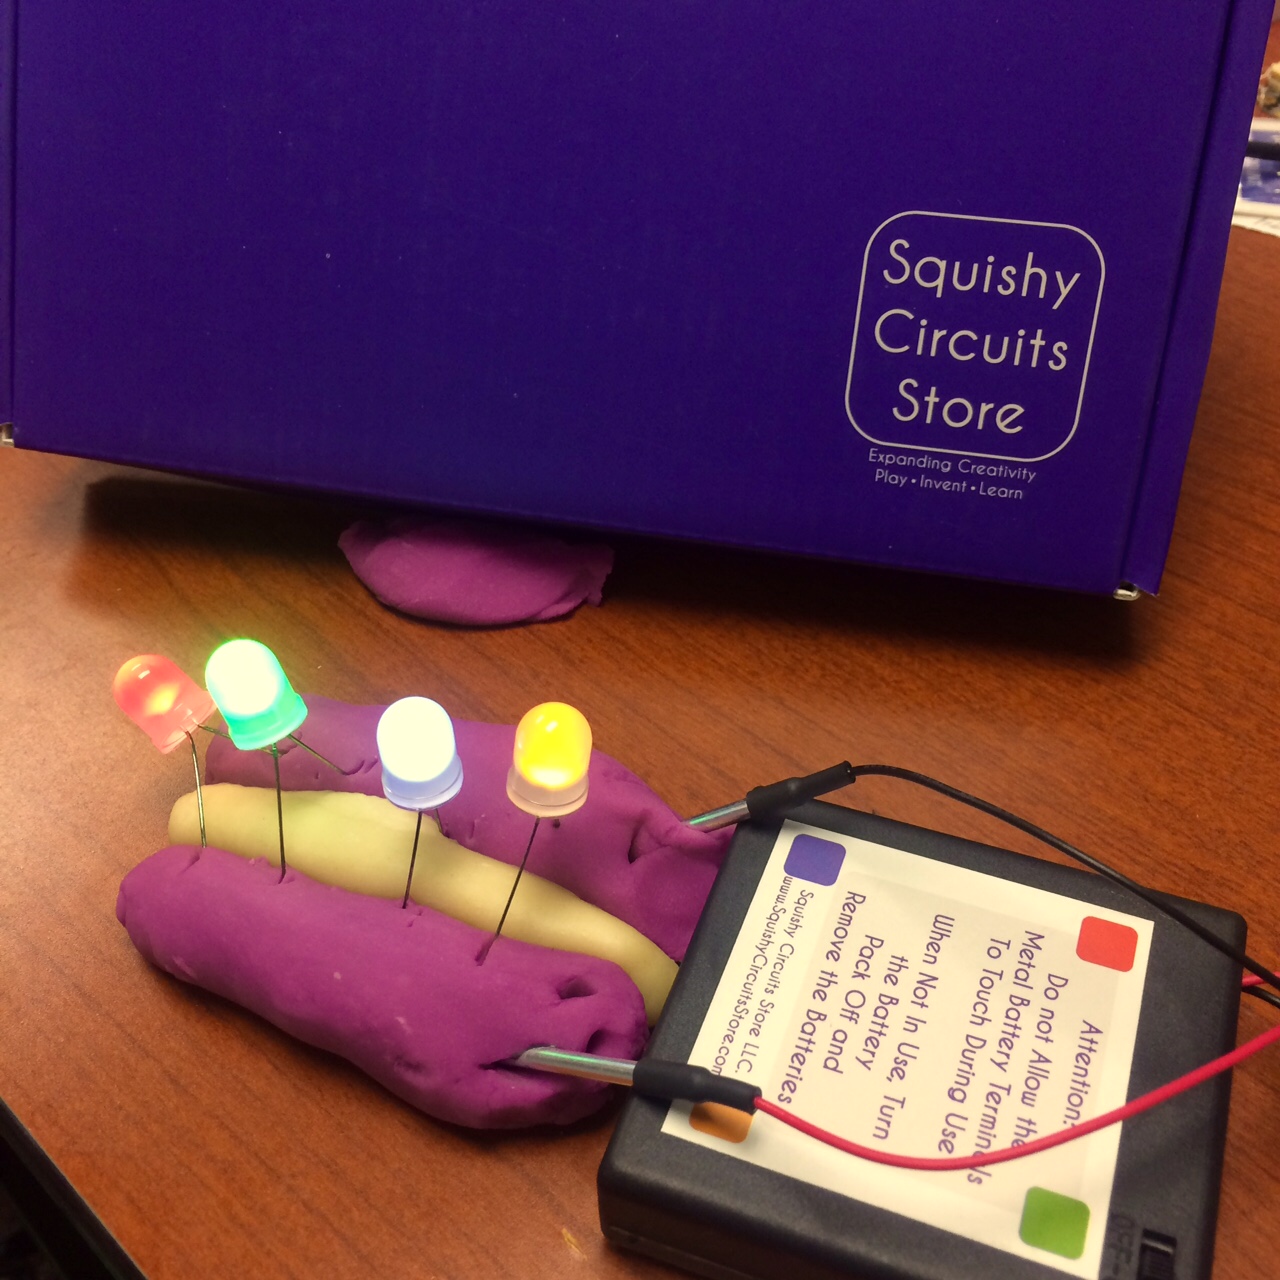
Yesterday we explored parallel and series circuits with copper tape, through-hole LEDs, CR2032 button batteries, and card stock. Today we will revisit these circuits using conductive and non conductive dough. Before hooking up your squishy circuit, watch the following video.
This page from the creators of our squish circuit kits provides videos showing how to make conductive and insulating doughs. They have additional information on safety precautions and how to apply Ohm’s law. Thank you Dr. AnnMarie Thomas and the Playful Learning Lab at St. Thomas University for developing and sharing these materials. http://courseweb.stthomas.edu/apthomas/SquishyCircuits/
Let’s see what happens when we try to make a series and parallel squishy circuit. How might you be able to integrate a squishy circuit into a lesson you already teach?
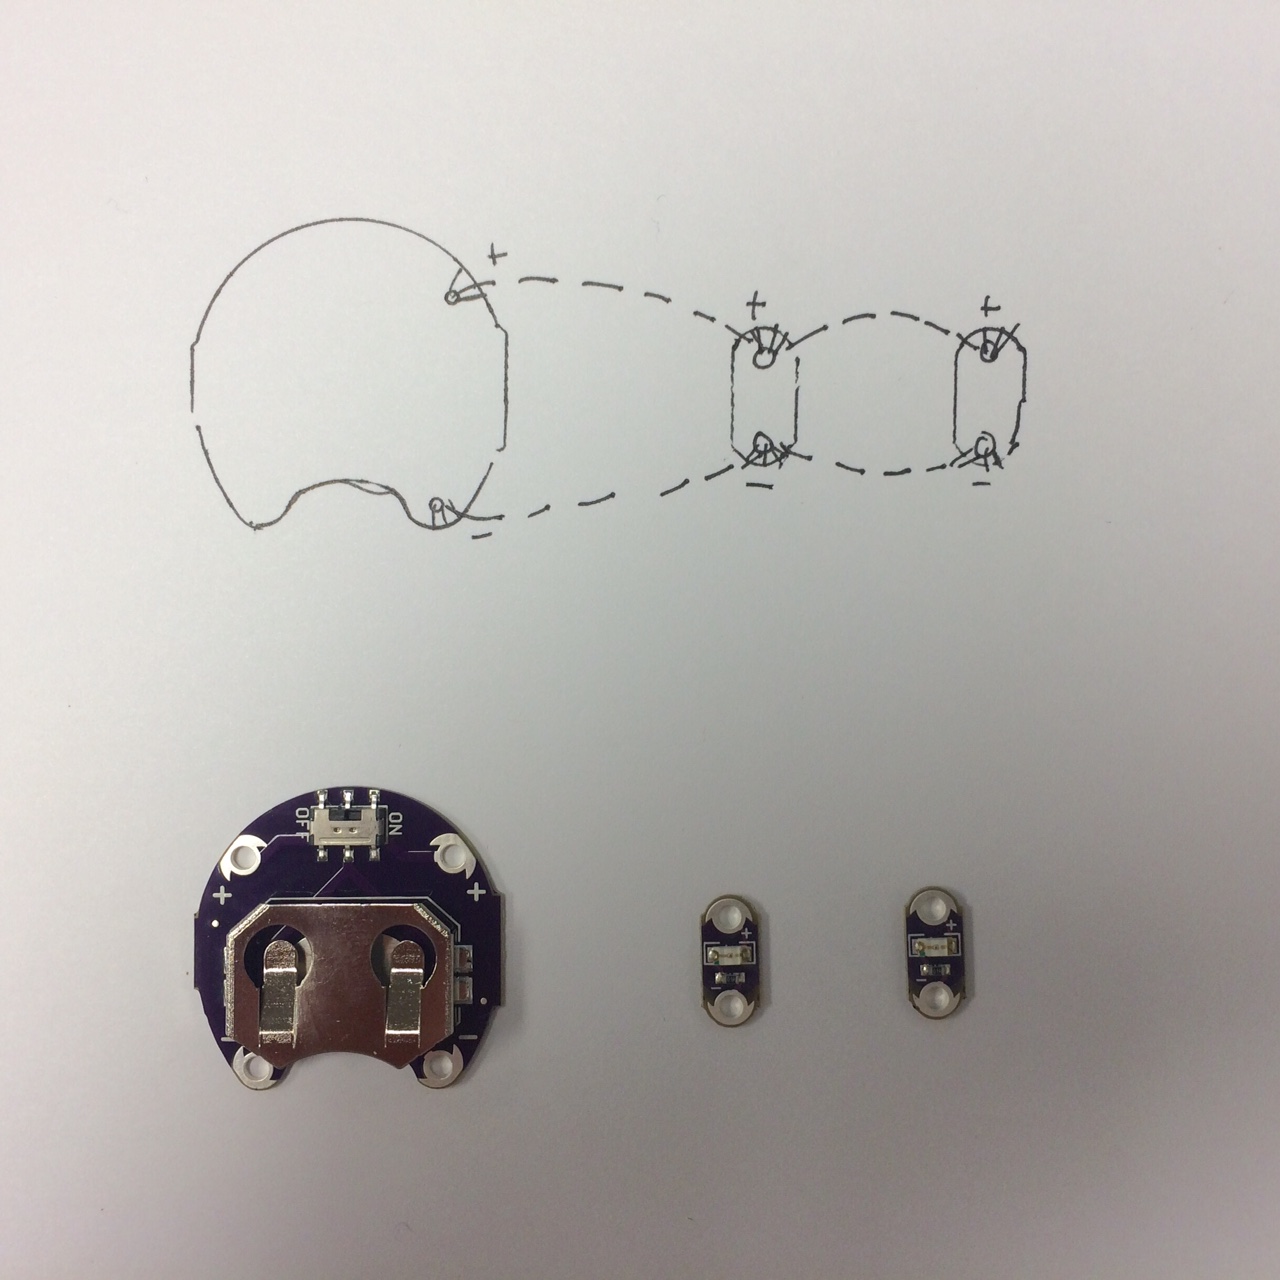
Next we will begin to create some e-textiles. You may say, “what is an e-textile?” An e-textile in our case will mean using conductive thread(stainless steel fibers) to sew LEDs, buzzers, and microchips into a piece of fabric. Lets start with a very simple circuit. We will wire two red Lilypad LEDs in parallel to a Lilypad battery holder with an on-off switch. First you should always sketch out your circuit. I like to trace the components to help me see how everything will line up.
Matt has created a video for tutorial on threading a needle. He can also show you in person.
When starting a stitch I put a double-knot at the end of my thread and fold the thread over the needle so it overlaps about 4-5 inches. It is best to keep your stitches short (1/8″) to maintain conductivity. In the circuit drawn above I will start my stitch on the back of the positive end of the LED on the right and stitch around the tab 4 times before stitching towards the next led. You will want to use one piece of thread to continuously stitch the entire positive line from led, to led, to battery, and then tie off. You will use a drop of clear nail-polish to secure the knot. Repeat this procedure for the negative(ground) line. Insert your battery and test your circuit. This first e-textile was mainly to practice stitching.
Now that you have a little practice with stitching with the conductive thread, let’s try and make a bracelet. Here is a nice tutorial on Instructables: http://www.instructables.com/id/LED-Cuff-Bracelet/?ALLSTEPS
